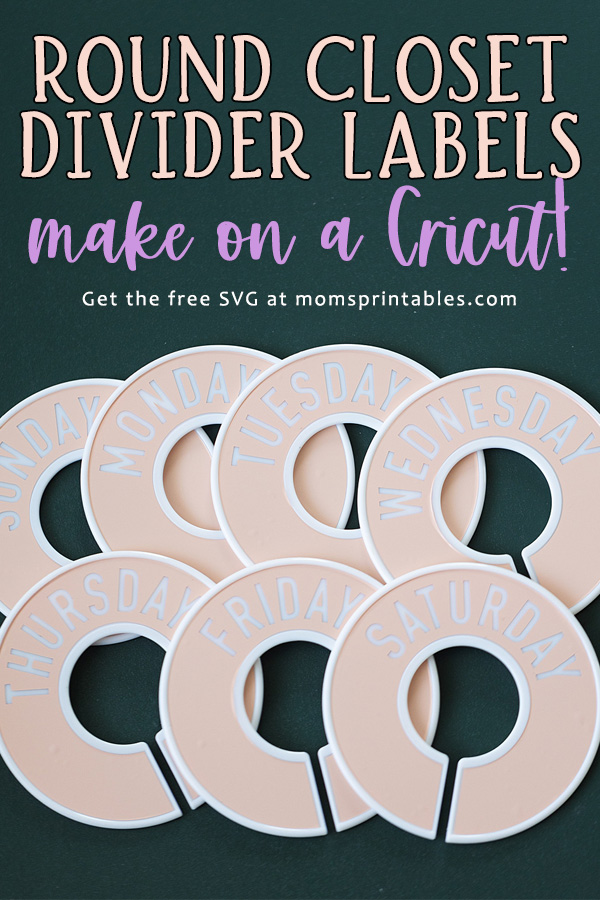
Round Closet Divider Labels made with Cricut
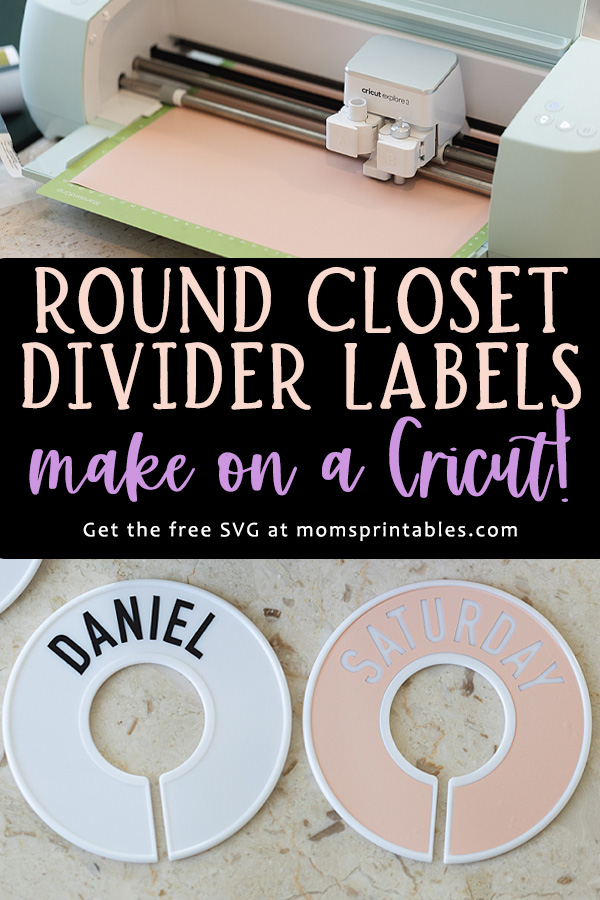
A well-organized closet makes me so happy AND helps my kids stay organized and pick out their clothes easily. Stress-free morning routine? Yes, please! Let me introduce my Round Closet Divider Labels made with a Cricut!
The use of crafting tools like the Cricut makes it easy to create custom solutions for things like closet organization, and it’s quite enjoyable to do, too! Pretty much *nothing* makes me happier and more fulfilled than organizing and maximizing the functionality of a space.
In this blog post, I’ll explain how you can add a touch of style and functionality to your closet with DIY round closet divider labels made using a Cricut machine. I’m providing the template for you (scroll down to the end of this post)!
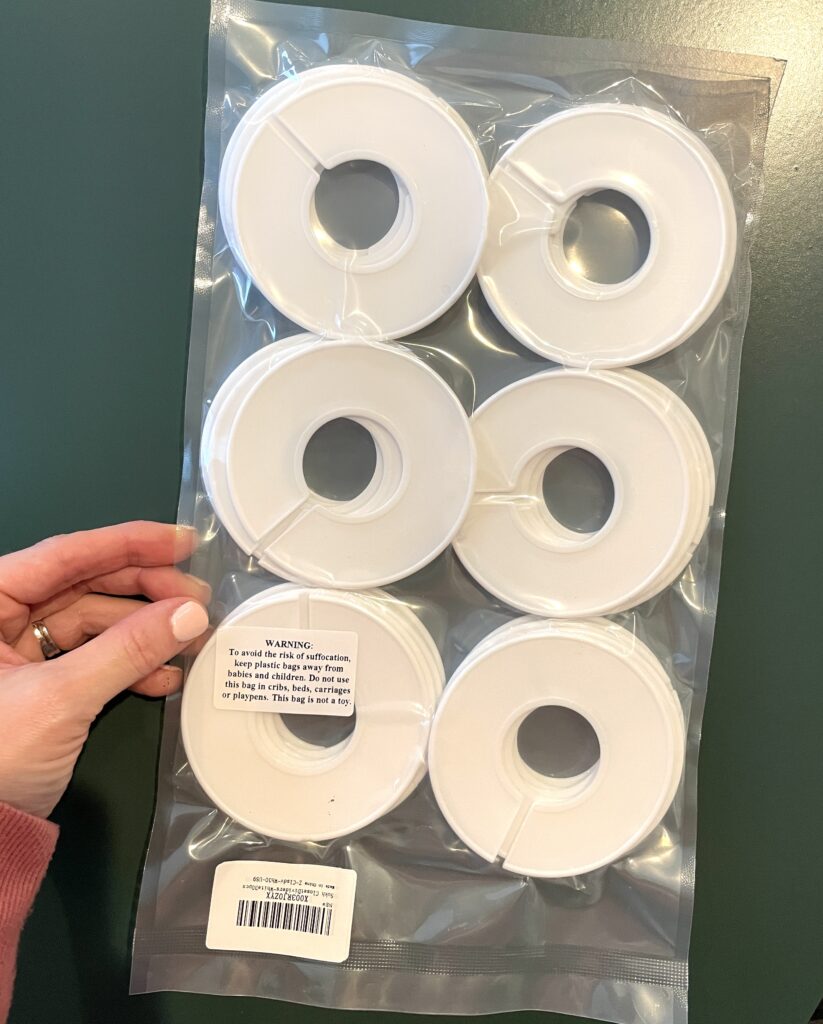
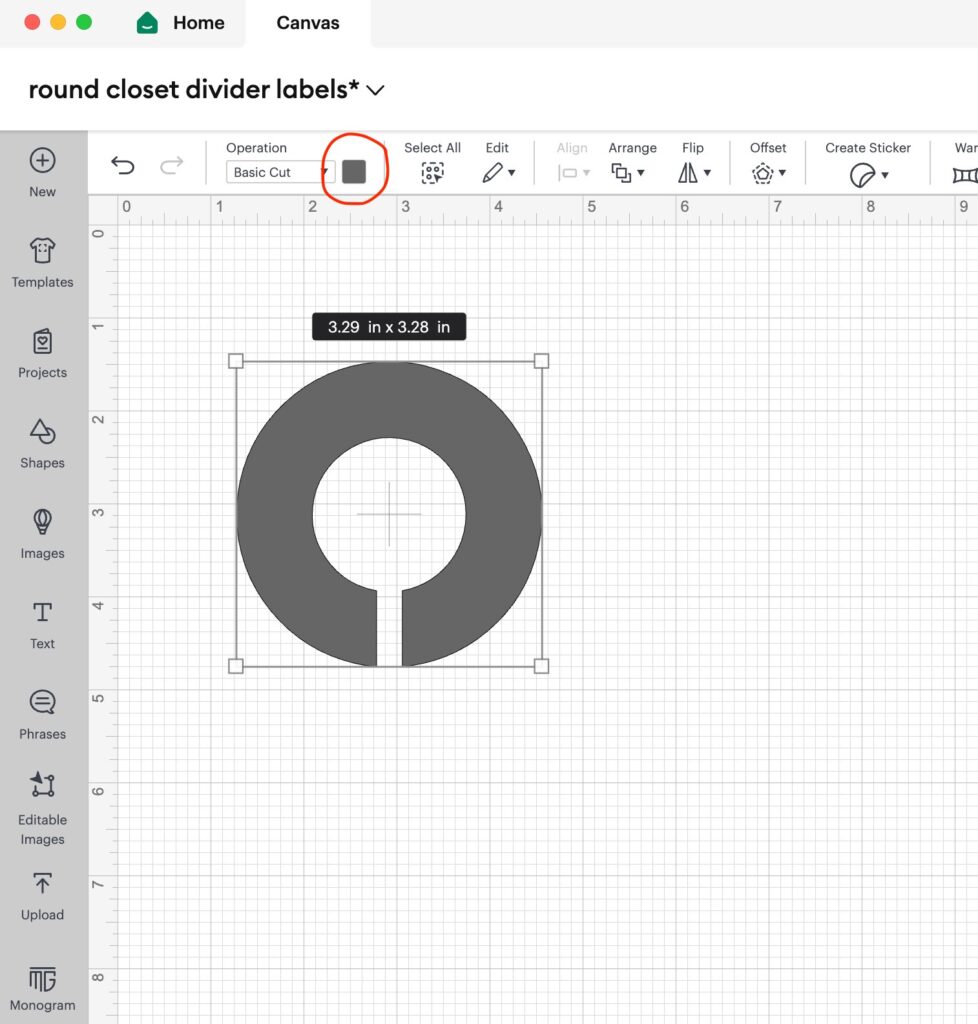
I found these very inexpensive round closet dividers on Amazon, and my Cricut labels template is designed to fit these exact dividers. (Diameter is 3.29″ 😆 I resized several times before I figured out the perfect fit for these!) There are probably others that it would fit as well, but these are the ones I’ve worked with and can be sure that they fit. They’re just like dividers you see at clothing stores, to divide by size! They pop off and on a clothes rod easily.
- Get Organized: Clothes organizer can make your closet a lot neater. Suitable for children's clothing as...
- Easy to use: You and your family can use closet dividers to sort clothes according to your needs and...
Why Organize Your Closet?
A well-organized closet can:
- Save you time: With everything neatly categorized and labeled, you’ll spend less time searching for items and more time getting ready. I find this even *more* true with kids.
- Reduce stress: A clutter-free environment can help you start your day on the right foot so there’s not so much chaos in the morning trying to get out the door.
- Maximize space: By optimizing the layout of your closet and making efficient use of available space, you can store more items without feeling overwhelmed by clutter. And with closet divider labels, the kids will know where to hang things!
:: PIN FOR LATER! ::
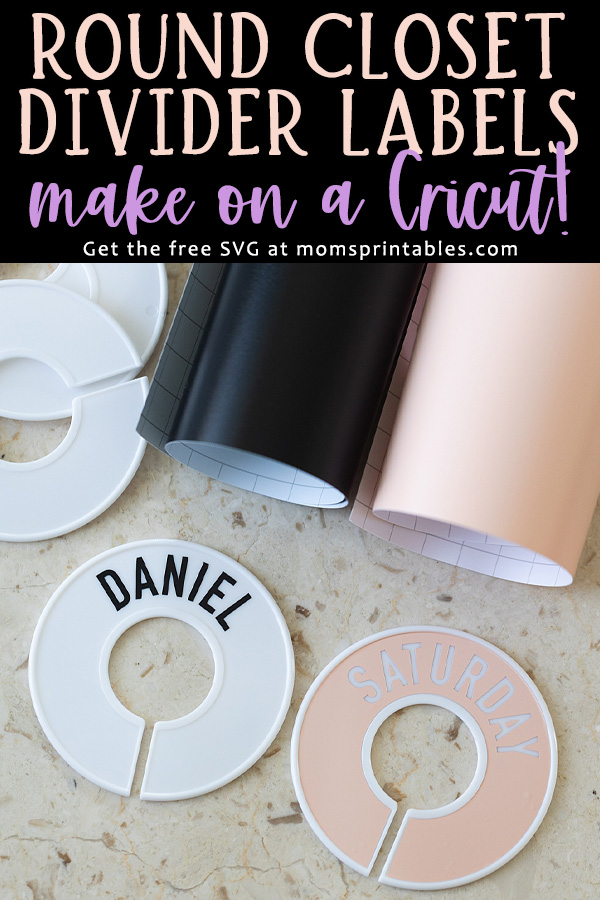
How to organize with Closet Divider Labels
Categorize clothing items by type, season, color, or any other criteria that make sense for your wardrobe. With clearly-marked labels, you can quickly locate the items you need without rummaging through piles of clothes or second-guessing where everything belongs.
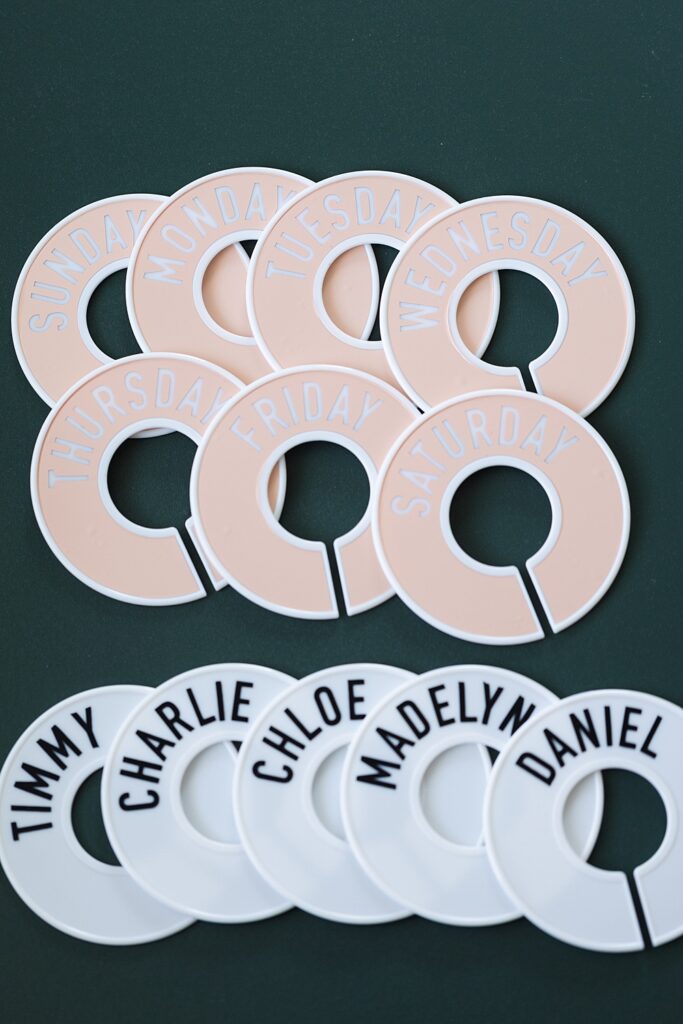
To help kids know what to wear each day, you could use days of the week labels and get their clothes prepped at the start of each week!
How to make these Round Closet Divider Labels with a Cricut
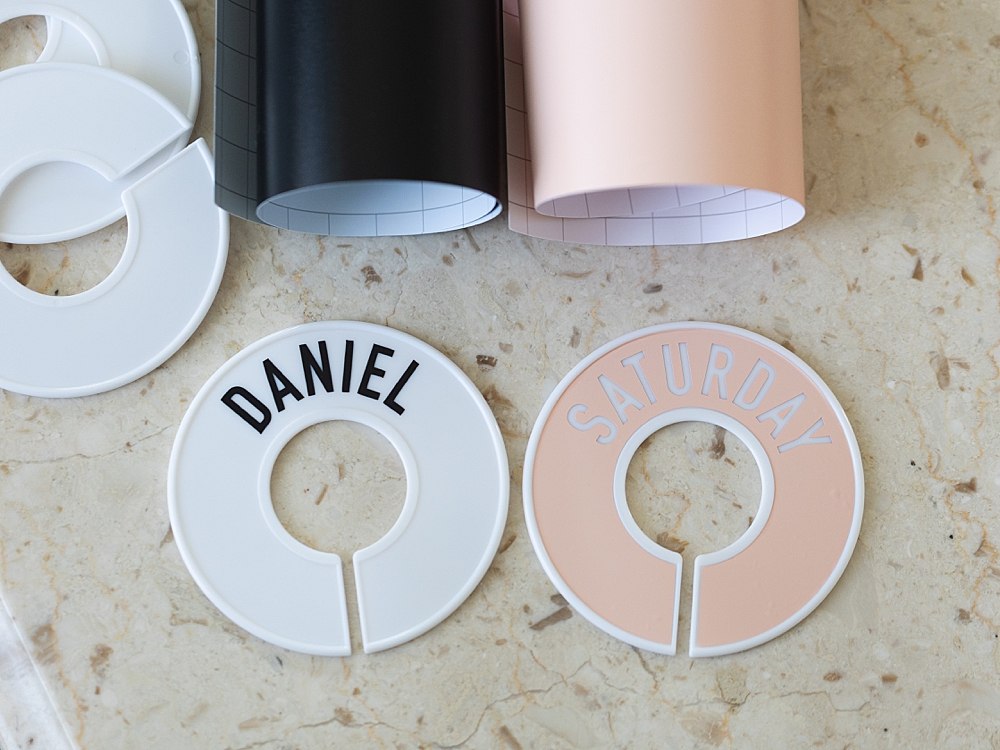
Now, let’s get to the fun part – creating your own custom round closet divider labels with a Cricut machine. Here’s what you’ll need:
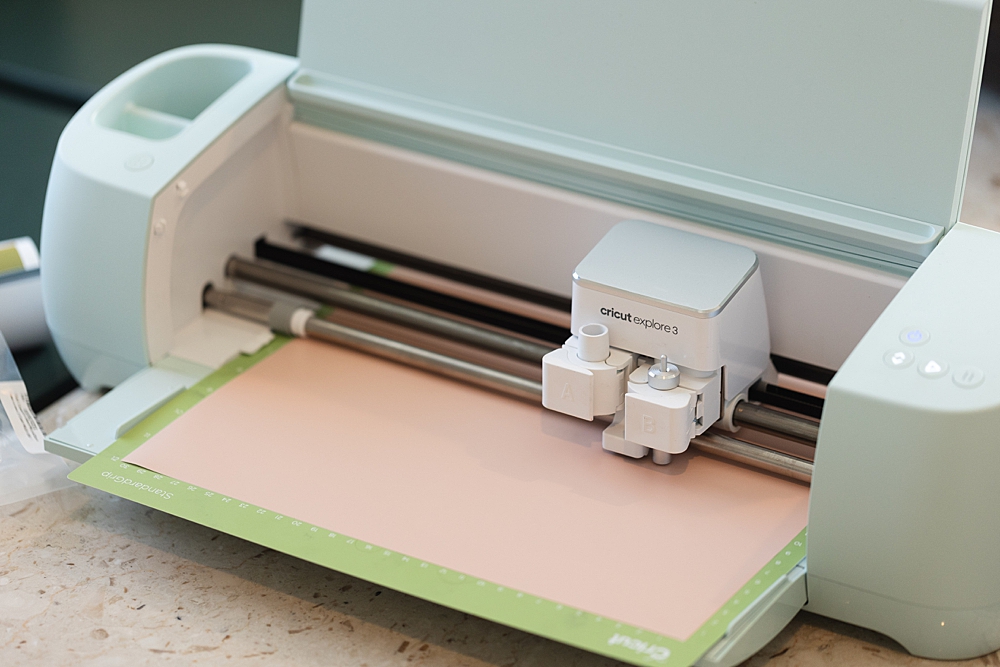
- Cricut machine (I have the Cricut Explore Air 3 – it’s amazing!)
- Cricut Design Space software (CLICK HERE to get it – available for free with your Cricut machine)
- THESE round closet dividers
- Vinyl to put through your Cricut machine – your choice! (I get mine from Dollar Tree!)
- Cricut cutting mat (or use Cricut’s smart vinyl, no mat needed!)
- Weeding tool & scraper (mine are from Dollar Tree!)
- Transfer tape (Some Dollar Tree stores carry this, but I can’t recommend it – several times it has worked out great for me, BUT a couple of times it has been way too sticky and ruined my project. Stick with Cricut brand transfer tape!)
- Last, but not least — my round closet divider label template (SVG file)
SIGN UP IN THE BOX BELOW AND I’LL SEND YOU THE SVG FILE!
Now, the step-by-step guide to creating these labels:
Design Your Labels: Open Cricut Design Space and create a new project. Upload the round label template. I change the color to gray, just because it makes it easier to see the text on it later.
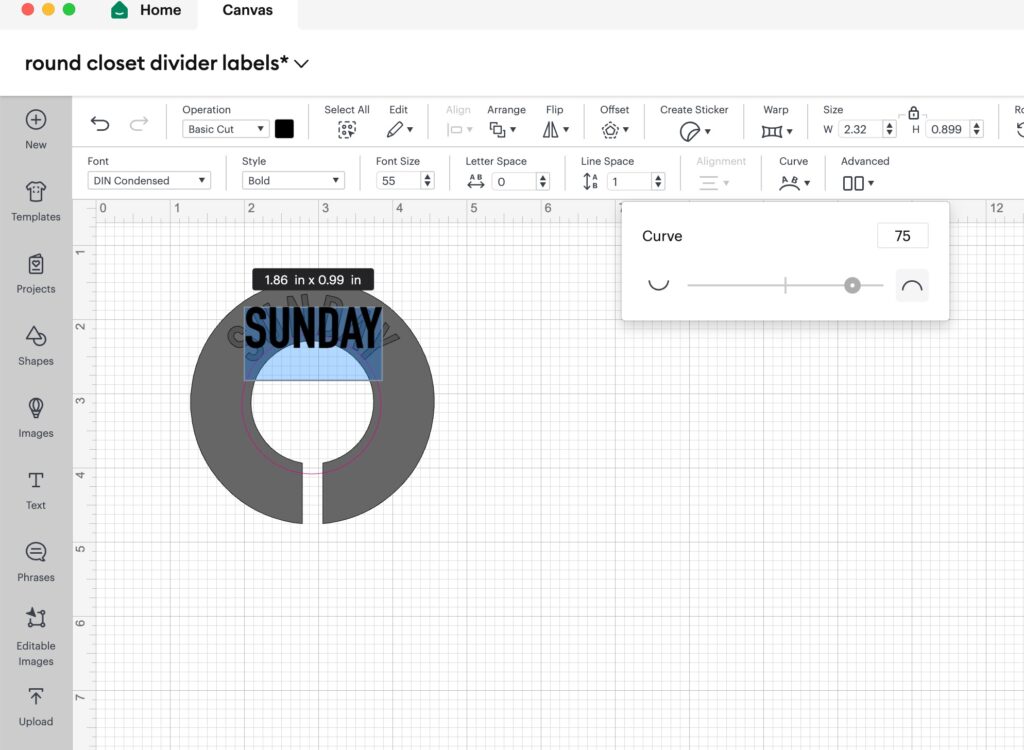
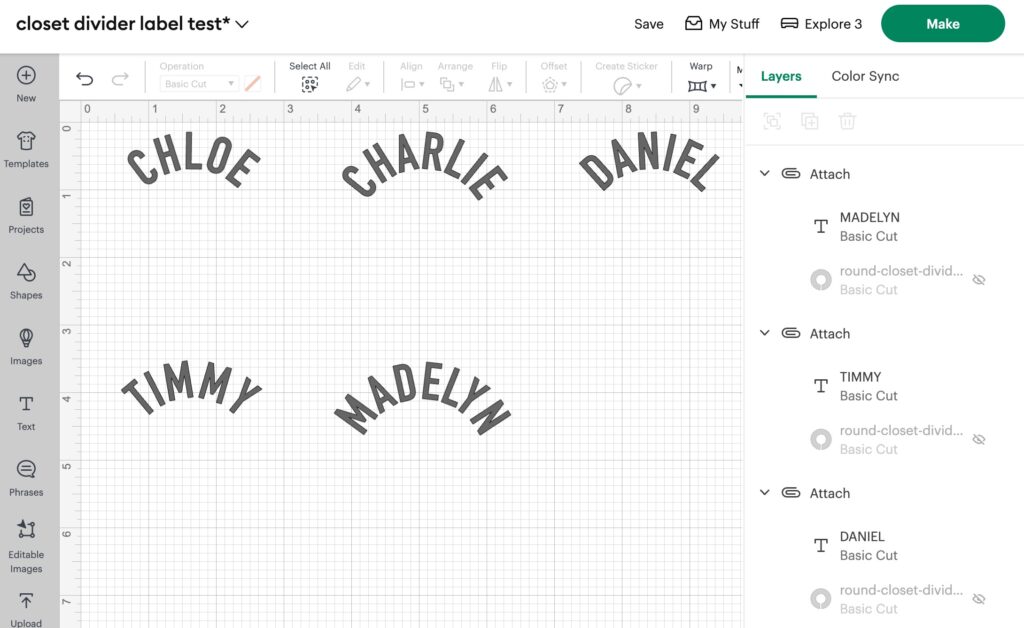
Add text: then you’ll need to make the text curve with the curve of the labels. I used font DIN Condensed Bold, size 55, at curve 75. It’s easy to play around with though, if you prefer another font!
After you get the text set correctly on the template, select both layers and click “Attach” so they stay together.
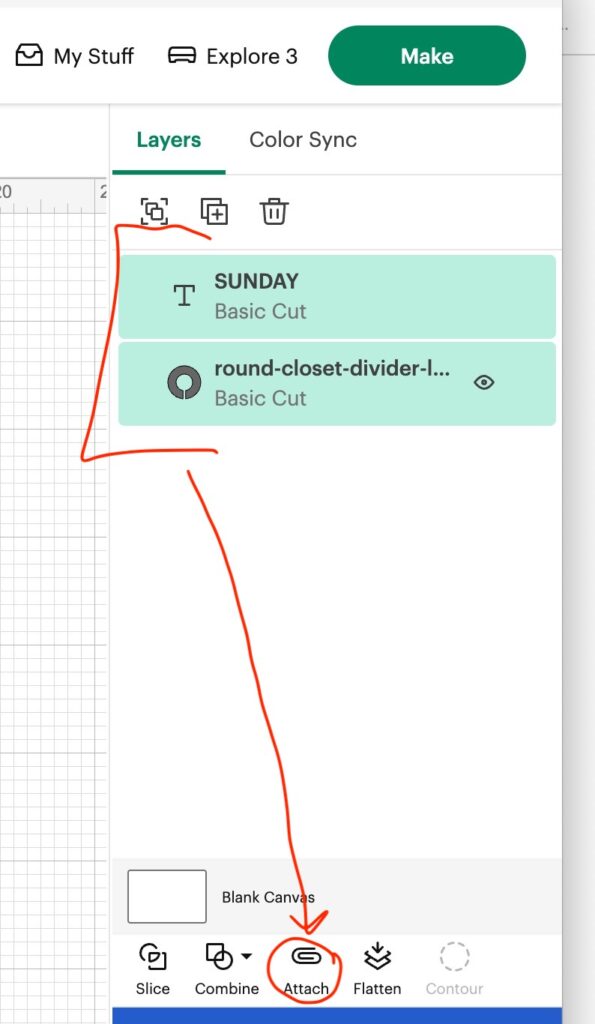
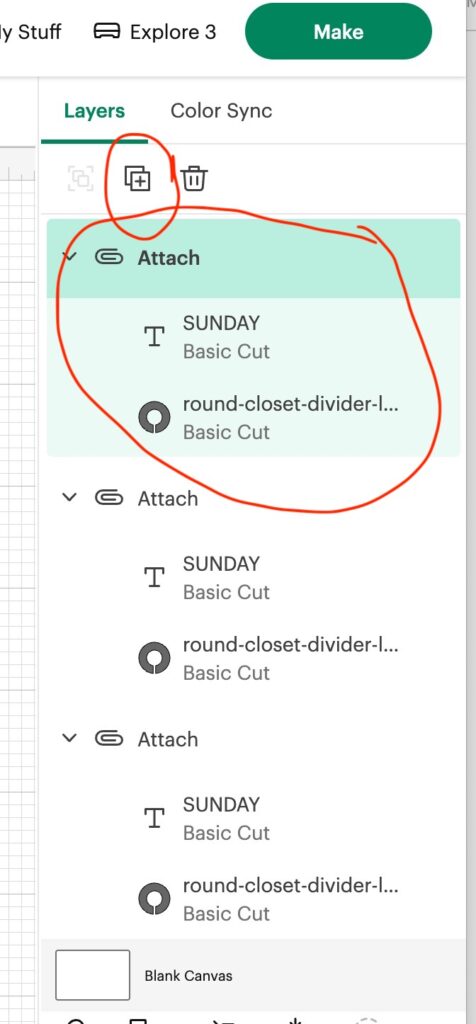
From here, you can just select the attached layers (click the “Attach”) and then duplicate it (the little squares with the plus sign) for however many you want to make.
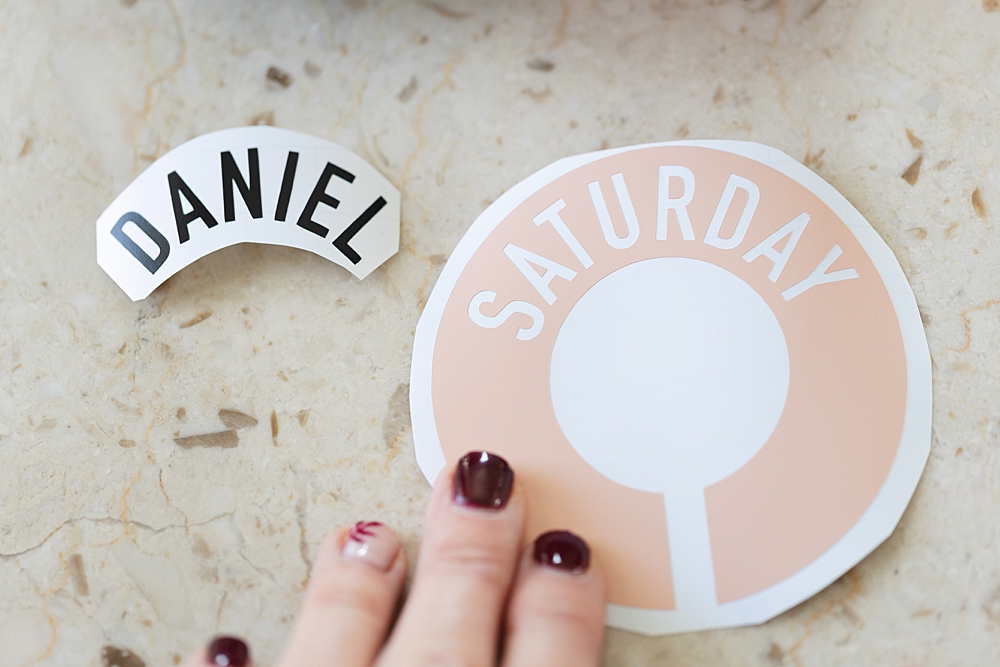
Two options: You can prepare your labels in 2 different ways – you can either plan to weed out the lettering, leaving you with the colored vinyl circle. OR, you may want just the letters to put onto the plastic dividers. If you want to be left with just the letters, you can save vinyl by making your text match the curve and then *hiding* the whole template so you don’t have to cut all that out. See my photo below ⬇️
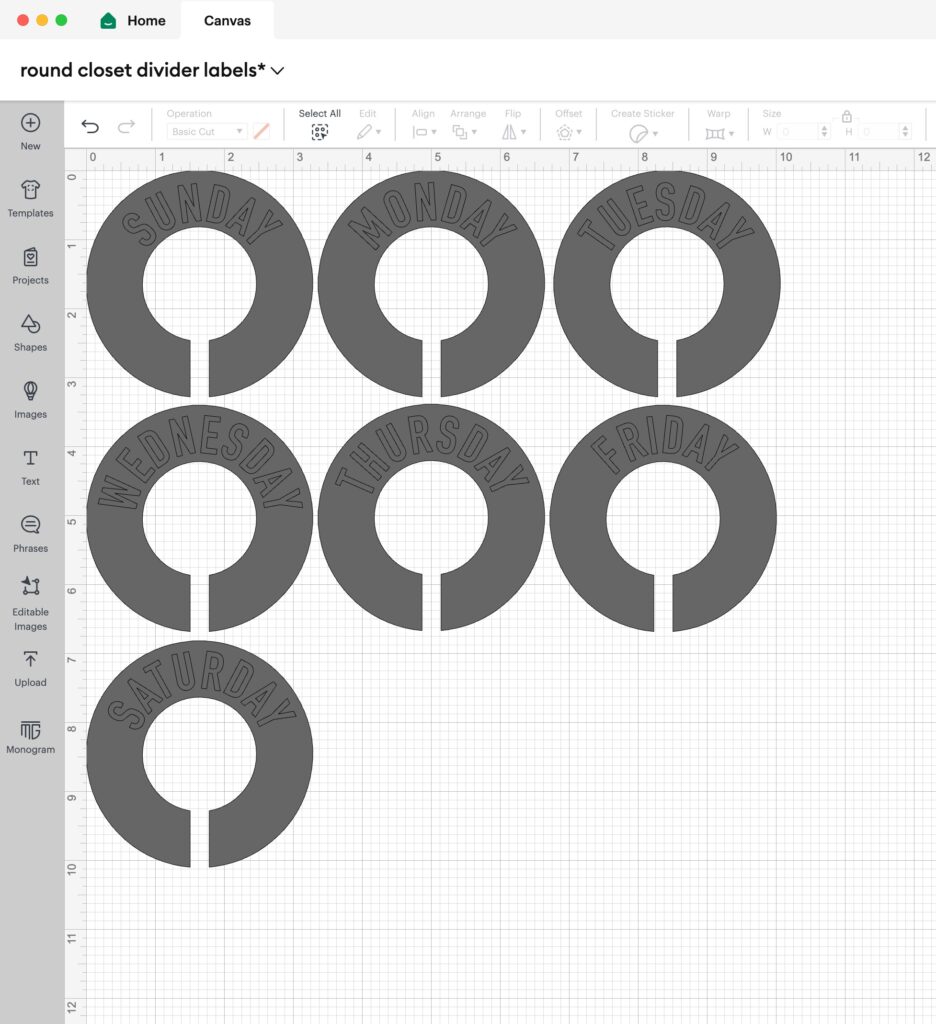
Line them all up and then just click on each text to change it.
For the name ones without the circle, I hid all of the templates and then pulled them closer to cut. It took barely any vinyl this way!
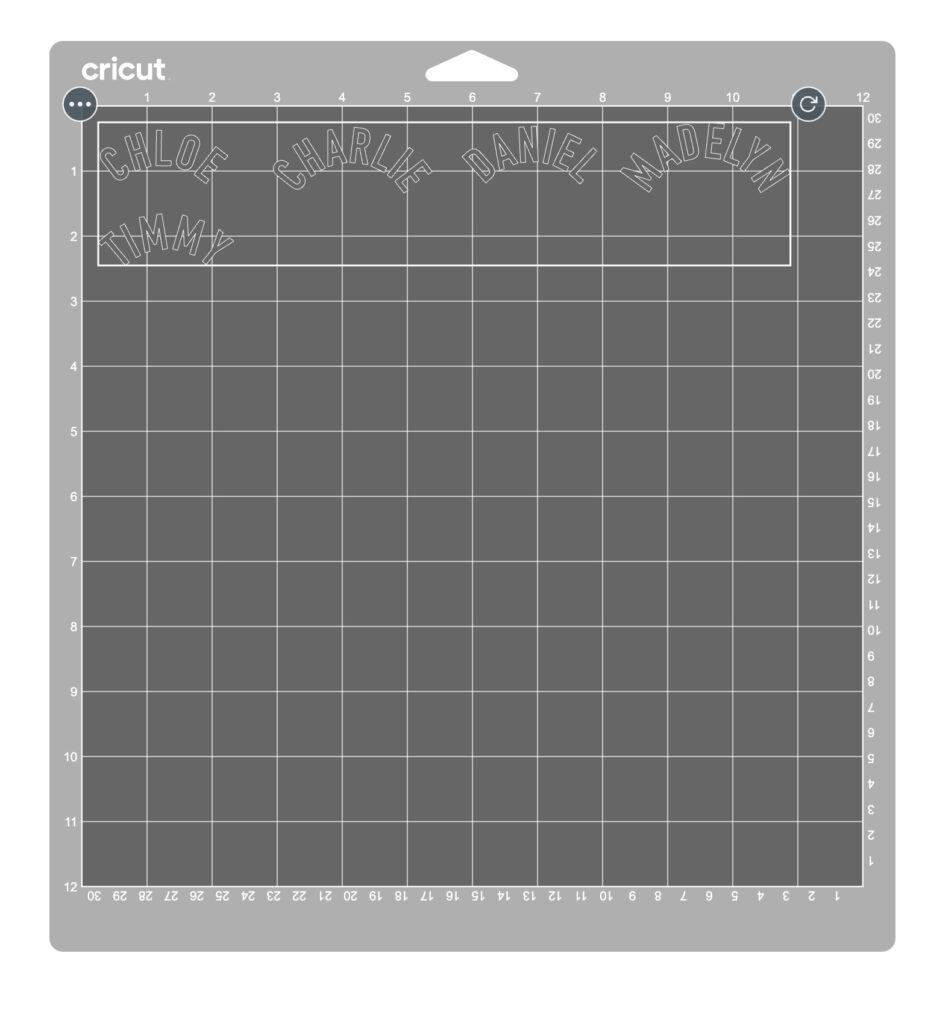
Prepare Your Material: Place the adhesive vinyl onto the Cricut cutting mat, making sure it’s securely attached.
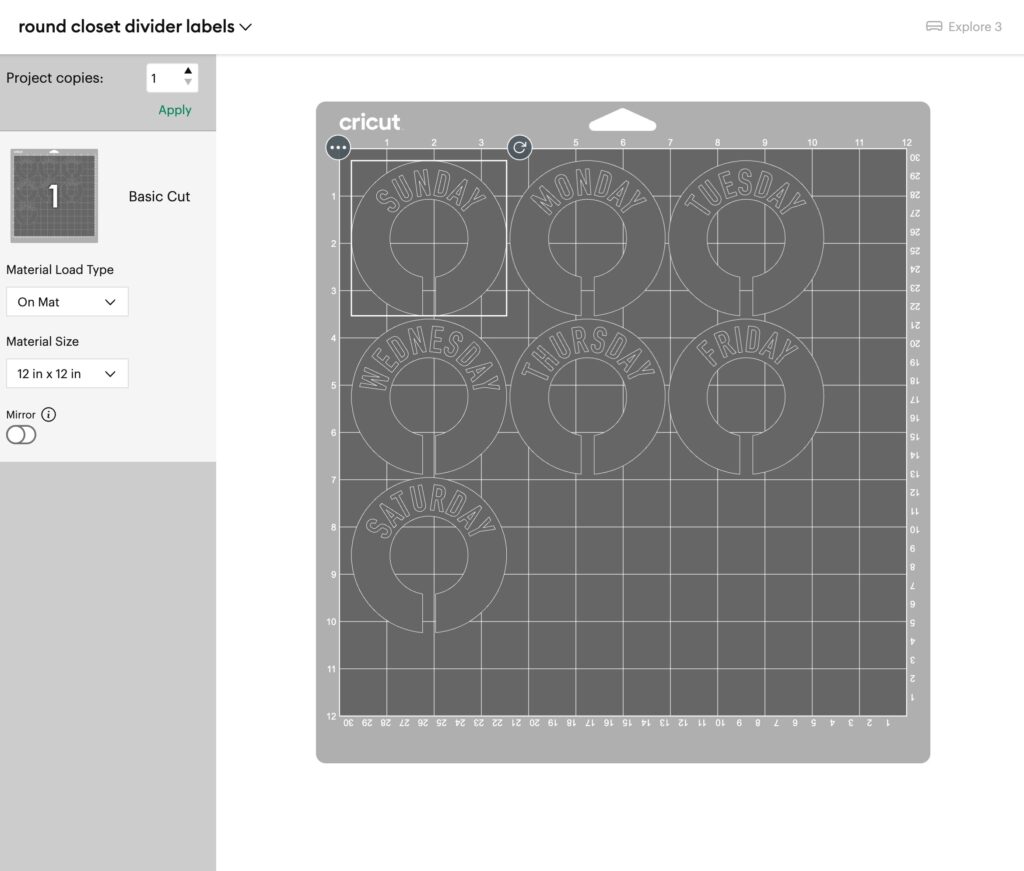
Cut Your Labels: Click on the “Make it” button and follow the prompts in Cricut Design Space to load the cutting mat into your Cricut machine and start the cutting process. Once the labels are cut, use the weeding tools to remove whichever part you don’t want to use.
Apply Transfer Tape: You’ll need to apply transfer tape over the labels to help transfer them onto the round closet dividers.
Apply Your Labels: Carefully peel the labels from the backing and apply them to the round blanks, ensuring they’re centered and free of air bubbles.
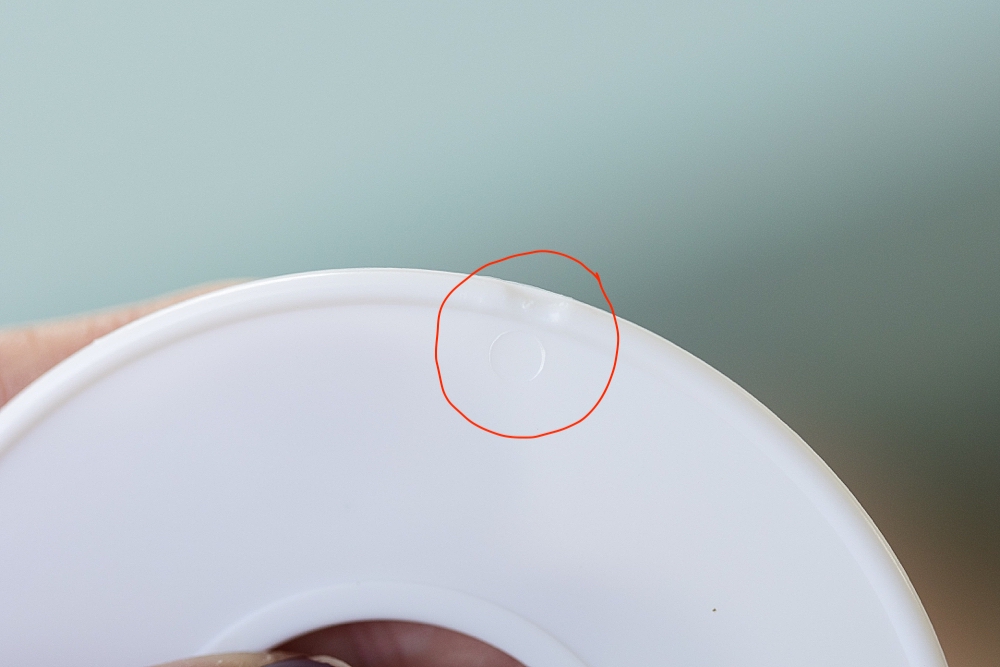
HINT: one side of each closet divider has a tiny plastic bump (see my photo below) – but the other side is smooth – it’ll be easier to apply to the smooth side, so watch for that.
You’re ready to arrange these in your closet! Whether you chose days of the week to get kids’ clothes ready, or names for the coat closet, I can’t wait to hear how you use these! Be sure to let me know in the comments below!
With a little creativity and the right tools, like a Cricut machine and my handy template, you can create personalized solutions that not only keep your space tidy but also match your style and color scheme.
So – grab your Cricut and start crafting your way to a more organized closet today!
If you’re reading this post, you must love organization and planning – so I know you’ll enjoy this printable MENU PLANNER as well! (Laminate to use it again and again!)

